
There’s an undeniable satisfaction in having windows so clean they practically disappear – allowing more light, offering an unobstructed view, and enhancing the overall freshness of your home. Yet, the task of achieving spotless windows isn’t always as straightforward as it may seem. Fear not, as we, your trusted experts at Gold Coast Clean & Sheen, are here to share our wealth of experience and insider knowledge to guide you through the process like a seasoned professional.
With years in the cleaning industry, specializing in everything from bond cleaning to deep cleans, we’ve honed our skills and picked up invaluable tricks along the way. In this comprehensive guide, we’re thrilled to unveil some of our top professional tips for mastering the art of window cleaning – both inside and out. Whether you’re battling everyday dust and fingerprints or facing the resilient grime from the great outdoors, consider this your ultimate resource. Our goal is to empower you with the knowledge and confidence to achieve windows that gleam like never before.
Inside Window Cleaning: The Secrets Unveiled
Let’s dive into the essentials. When it comes to indoor window cleaning, having the right tools at your disposal is key:
- Microfiber Cloth: A game-changer in the world of window cleaning. These cloths leave no lint behind and excel at capturing dust and smudges without risking scratches on your windows.
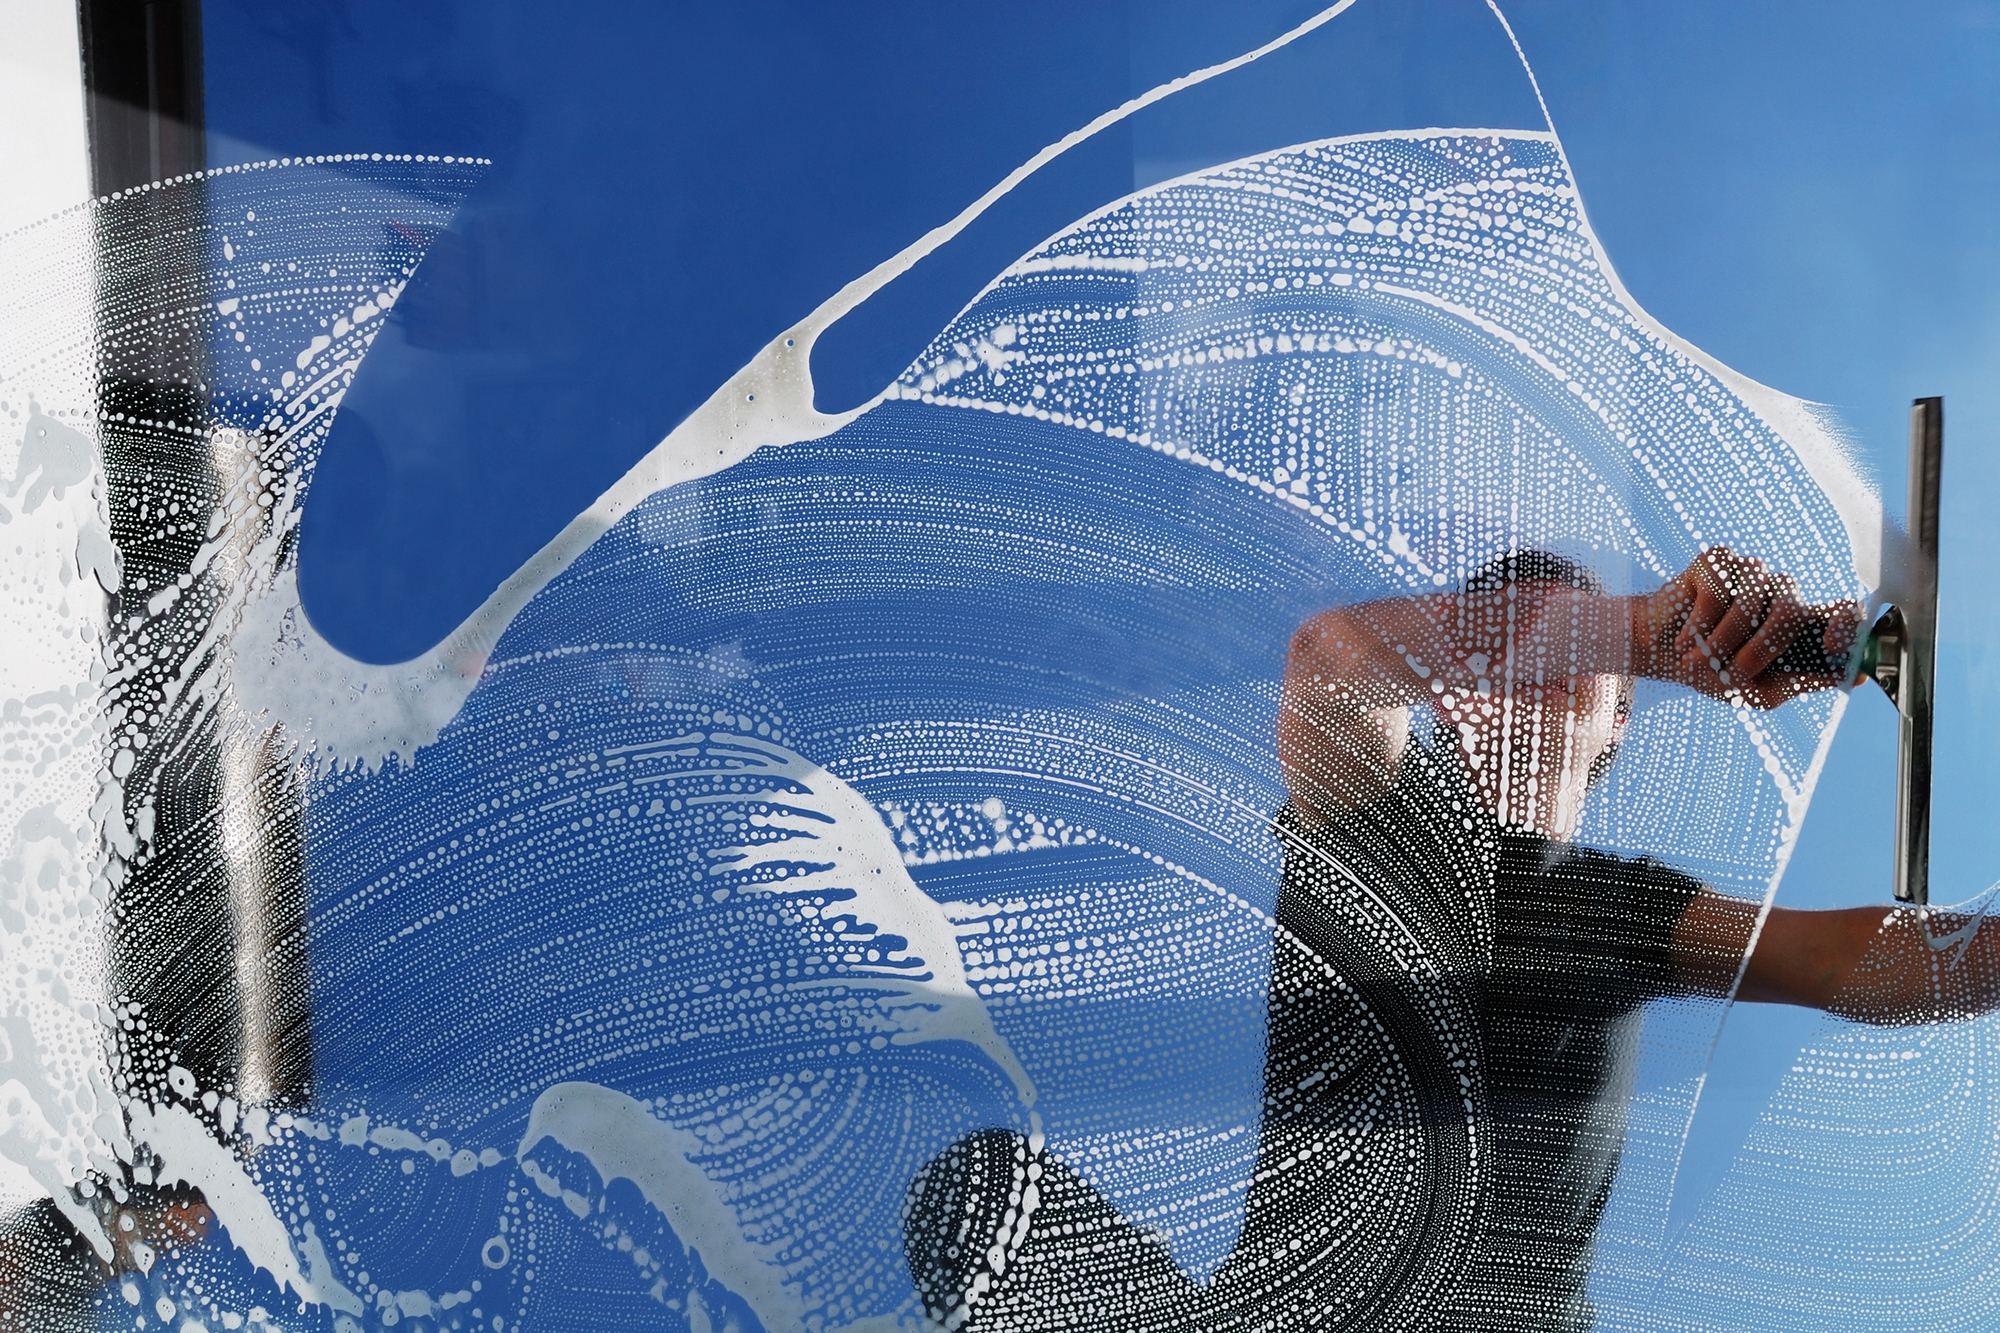
- Squeegee: A must-have for achieving streak-free finishes, a quality squeegee can save you time and effort.
- Window Cleaning Solution: Whether you opt for a commercial cleaner or a DIY mix of water and vinegar, this solution is your partner in crime. Vinegar’s grime-breaking power leaves your windows not just clean but also with a brilliant shine.
Step-by-Step Guide to Achieving Crystal-Clear Indoor Windows
- Start with the Frame: Prioritize the frame and sill, dusting them before turning your attention to the glass. This prevents any dirt from the frame from spoiling your freshly cleaned windows.
- Apply the Cleaning Solution: Generously spray your cleaning solution onto the window. Be thorough, but avoid over-saturating.
- Wipe in a Z-Pattern: Armed with your trusty microfiber cloth, start at the top and move in a Z-pattern. This technique ensures thorough coverage without the nuisance of streaks.
- Squeegee for a Flawless Finish: Seal the deal with a squeegee, working from top to bottom. This not only eliminates any lingering solution but also leaves your window brilliantly shiny.
Professional Insights for Streak-Free Results
- The Right Time Matters: While cleaning windows on a sunny day might seem ideal, direct sunlight can cause the cleaning solution to dry too quickly, resulting in streaks. Opt for a cloudy day for optimal results.
- Detail with a Cotton Bud: Conquer those hard-to-reach corners with a secret weapon – the humble cotton bud. Perfect for snagging that last bit of dirt.
Tips Tailored for Indoor Window Cleaning
- Dealing with Stickers or Decals: If your windows bear the marks of playful kids with stickers, a dab of oil (try eucalyptus or cooking oil) can work wonders in peeling them off effortlessly.
- DIY Cleaning Solution for Stubborn Stains: When faced with tougher stains, enhance your vinegar and water solution with a drop of dish soap. Its grease-cutting prowess tackles grime effectively.
Remember, clean windows have the transformative power to elevate your entire home. While our specialized services are always at your disposal, we believe in arming you with the expertise to take matters into your own hands – whenever the mood strikes.
Maintaining Exterior Brilliance: Navigating Outdoor Window Care in Australia
Outdoor window cleaning in Australia brings forth a distinct set of challenges, courtesy of the formidable weather elements Down Under. Coastal air carrying salt, intense sunlight, and sporadic storms can leave lasting impressions on your windows. Fear not, as understanding and addressing these challenges head-on is the key.
Prioritize Safety
Safety is paramount, especially for those residing in multi-storey homes. Ensure the use of a stable ladder, and if the height seems daunting, it might be wise to enlist professional help. Remember, no window is worth compromising your safety.
Professional Techniques for Flawless Results
Now, let’s delve into the exciting part—the cleaning process. Seasoned professionals, such as the experts at Gold Coast Clean & Sheen, often wield a squeegee for outdoor windows. Why? It efficiently eliminates water and cleaning solution, minimizing streaks and accelerating the drying time. Witnessing a clear path materialize with each squeegee swipe is undeniably satisfying.
Initiate the process by gently hosing down the window to rid it of loose dirt. Subsequently, employ a soft brush with a mild detergent solution to delicately scrub the window, loosening any stubborn grime. Then, armed with your squeegee, confidently clear off the water and soap in even strokes. Don’t overlook wiping the edges with a clean, dry cloth to prevent unsightly drips!
Coastal Climate’s Influence on Cleaning Rituals
For those residing near the coast, you may notice a more frequent need for window cleaning. The salt residue in the sea air can accumulate over time. Regular cleaning not only sustains the visual appeal of your windows but also serves as a protective measure against the corrosive nature of salt.
Common Mistakes in Window Cleaning
Despite the best intentions, a few missteps can impede your windows from achieving the desired brilliance. No need to fret; we’re here to guide you through these pitfalls like seasoned professionals.
1. Selecting the Wrong Time of Day
- Mistake: Cleaning your windows under the harsh midday sun.
- Why It’s a Problem: The heat causes cleaning solutions to dry too quickly, resulting in unsightly streaks.
- The Fix: Opt for an early morning or late afternoon cleaning session. Cooler temperatures ensure slower drying, culminating in a streak-free finish.
2. Utilizing the Wrong Cloth
- Mistake: Grabbing any old rag or towel to dry your windows.
- Why It’s a Problem: Some materials can leave lint or inadequately absorb water, leading to streaks or residue.
- The Fix: Employ a microfiber cloth or a squeegee. Their super-absorbent and lint-free nature ensures a crystal-clear finish.
3. Overlooking the Details
- Mistake: Ignoring the window edges and frames.
- Why It’s a Problem: Dirt accumulates in these areas and may run onto the glass, undoing your hard work.
- The Fix: Initiate the cleaning process by wiping down the frame and edges, preventing dust or dirt from compromising your beautifully cleaned glass.
4. Using Too Much Cleaning Solution
- Mistake: Going overboard with the spray or soap.
- Why It’s a Problem: Excess solution can leave residue and streaks, clouding the windows.
- The Fix: Less is more in this scenario. A few spritzes of your cleaner are usually ample. Focus on the technique rather than the quantity.
5. Ignoring Weather Conditions
- Mistake: Opting to clean your windows on a rainy or extremely windy day.
- Why It’s a Problem: Rain can undo your cleaning efforts, and wind may blow dust and debris onto your wet windows.
- The Fix: Check the forecast before embarking on your cleaning mission. A calm, dry day offers the ideal conditions for keeping those windows sparkling.
Going Beyond the Basics
Tackling Hard Water Stains
- The Challenge: Hard water stains resulting from mineral deposits.
- The Solution: Employ a mixture of vinegar and water. Vinegar’s natural acidity breaks down mineral deposits, facilitating easy wiping.
- How to Do It: Mix equal parts white vinegar and water in a spray bottle. Apply liberally, let it sit for a minute, then gently scrub and rinse with clean water.
Removing Bird Droppings
- The Challenge: Unsightly and acidic bird droppings that can damage glass.
- The Solution: Soften the droppings before removal to prevent glass scratching.
- How to Do It: Soak a cloth in warm, soapy water and place it over the dropping for several minutes. Wipe gently and finish by cleaning with your regular window cleaning solution.